Quickstart

2 min read

Running the Archestra Platform

Quickstart

  1. Start with Docker

    docker run -p 9000:9000 -p 3000:3000 archestra/platform
    
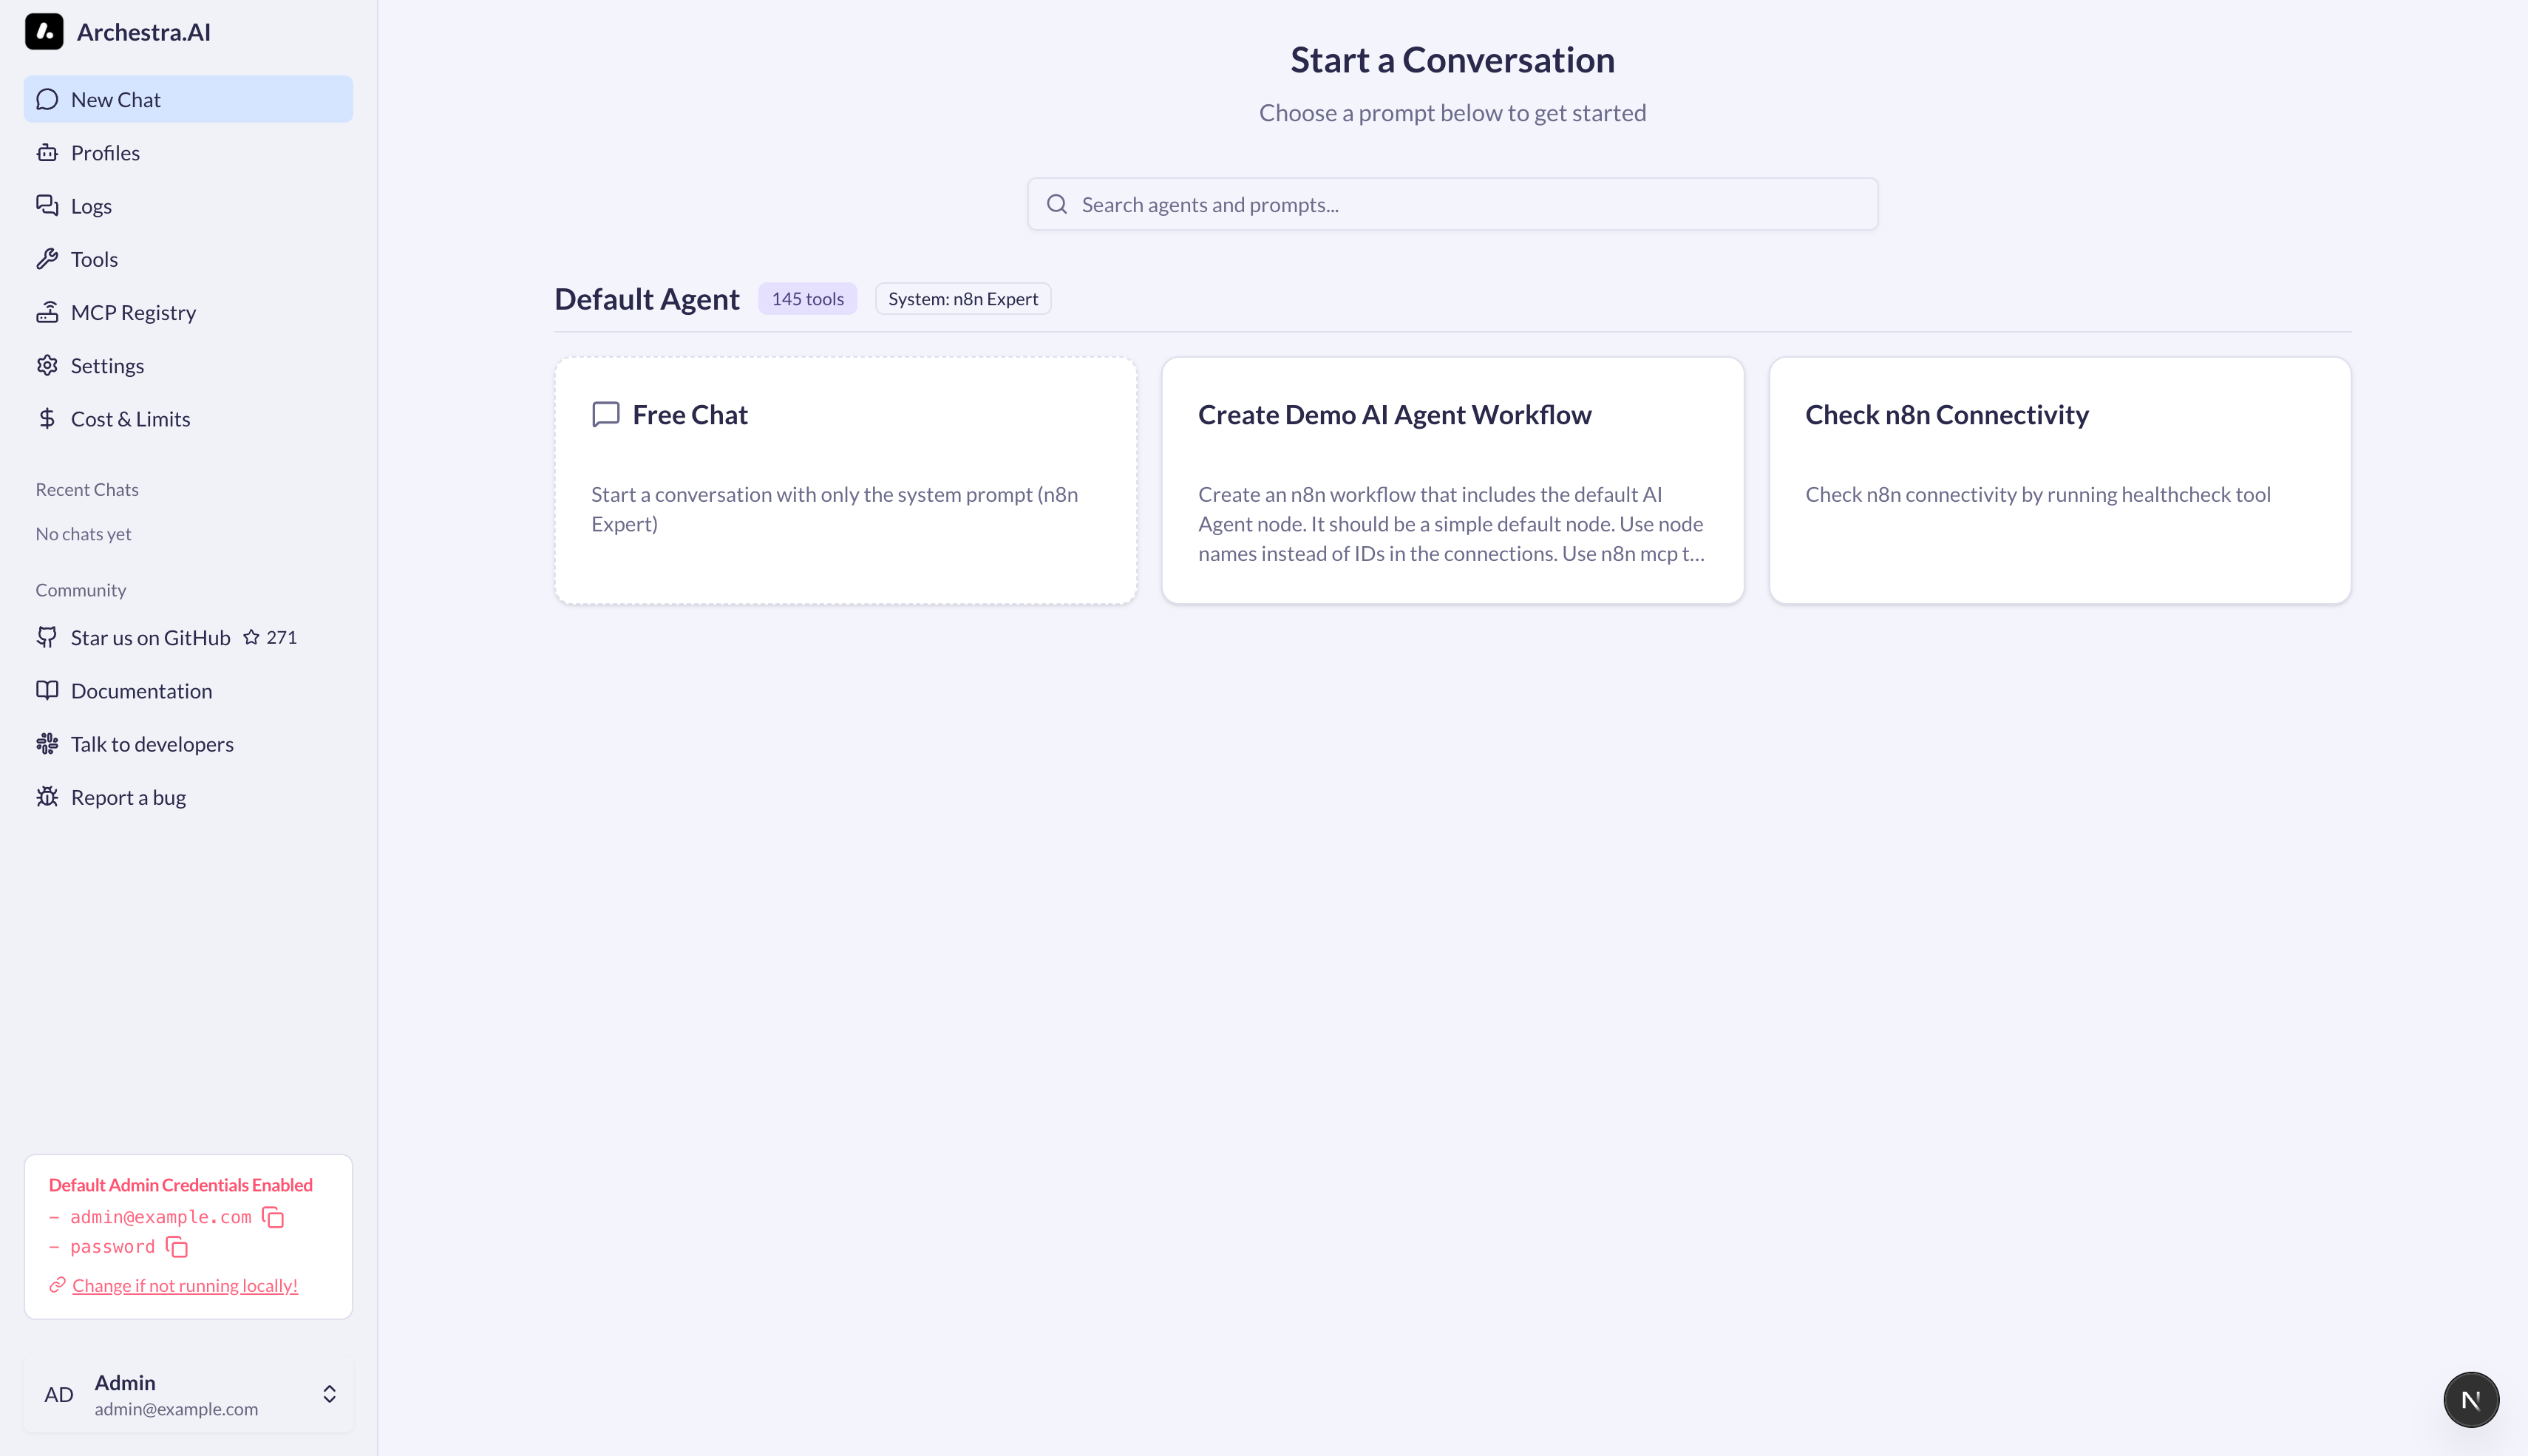
  2. Open http://localhost:3000

  3. The platform is now running with:

Configuring an Agent

Agents are the core concept in Archestra Platform. Each agent represents a distinct AI application or workflow that you want to secure.

  1. Navigate to the Agents page at http://localhost:3000/agents

  2. Click Create Agent and give your agent a name (e.g., "My Chat Bot")

  3. Copy the Proxy URL displayed for your agent. It will look like:

    http://localhost:9000/v1/openai/{agent-id}
    

Agents Page

Each agent maintains its own:

  • Interaction history
  • Tool configurations
  • Security policies

Default Agent: If you don't specify an agent ID in the proxy URL, Archestra will create or use a default agent based on your User-Agent header.

Proxying your Agent to the Archestra Platform

To connect your AI application to Archestra, configure it to use the Archestra proxy URL instead of the OpenAI API directly.

URL Format

Archestra supports two URL formats:

  1. Default Agent (auto-creates based on User-Agent):

    http://localhost:9000/v1/openai
    
  2. Specific Agent (uses the agent you created):

    http://localhost:9000/v1/openai/{agent-id}
    

Next Steps

Now that your agent is connected to Archestra, you can:

  1. Understand the threats - Learn about The Lethal Trifecta that Archestra protects against

  2. Configure security policies - Set up Dynamic Tools to control which tools can be invoked and when

  3. Monitor your agents - View interaction logs, tool calls, and security events in the Archestra UI

  4. Explore examples - Check out practical examples:

  5. Join the Slack community to talk to the developers and get assistance!